Transplanting Spinach Into The Garden
Last updated onToday we are finally going to discuss transplanting spinach into the garden. It is a very simple process to complete once you know exactly how to perform this task. I like to transplant them a certain way which I have been doing for over a decade since I started growing these healthy leaves.
It only takes about an hour to accomplish, but if you are new to this then it might take a little bit longer. Once you start doing you will inevitably get used to it and you will become a master at moving these plants into your home garden. It all starts with making some holes using a large shovel which you can see here.
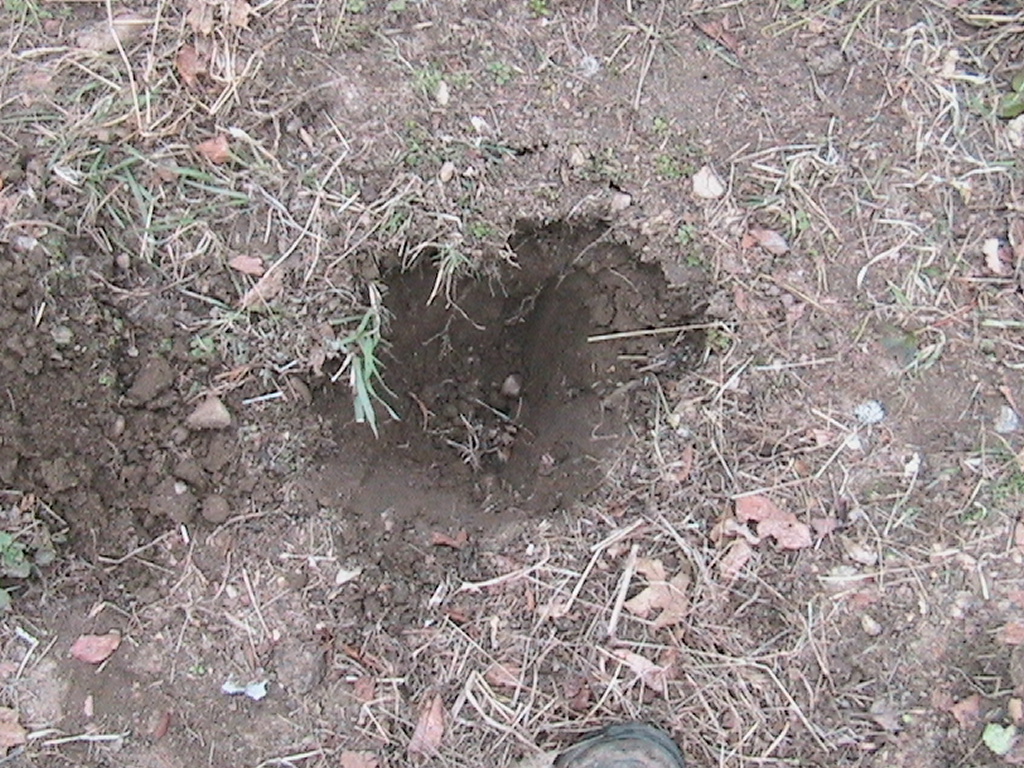

Digging about a foot down is what you should aim for since spinach roots like to grow very deep compared to many other plants. You want to fill up this hole with as much organic matter as possible. I will show you what I use to give them a boost in growth.
I want you to note that you are not going to be placing the plant a foot down and instead you should loosen up the soil a foot deep. This way when the roots spread out it will be much easier for them to penetrate this loose soil. If you grew them in very large and deep pots instead of plastic cups like I did, then you might not need to fill in the hole with excess soil.
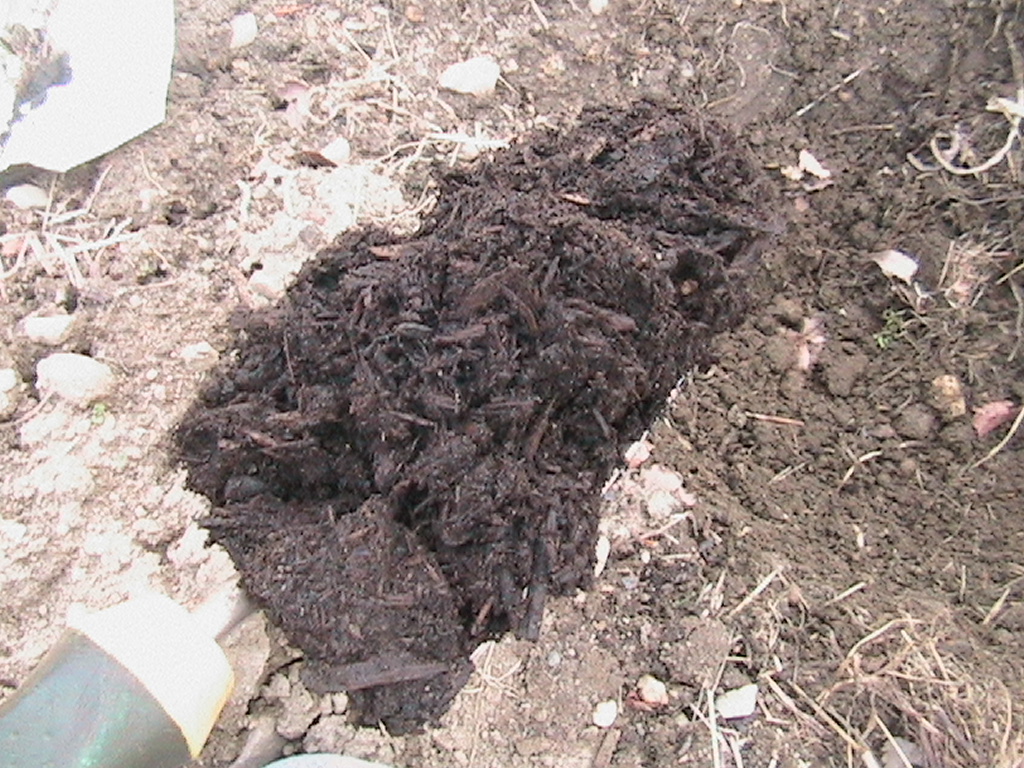
Once you have dug the appropriate amount of holes needed for each plant it is time to add some organic material into them. I like to use a bag of Scott’s Premium Organic Humus and Manure along with bone meal, lime, and some pulverized egg shells.
You can always use your own mixture if you like and you don’t have to use this method, but I have found that this gives any plant a big boost which you will notice within a week or so. Bone meal is essential when transplanting because it strengthens the root system allowing for a healthy and easy transition into new soil. I would recommend using the manure and bone meal for this task.
The limestone and pulverized eggshells is something that I do because I have received good results from them. The lime makes the spinach leaves taste delicious without having a bitter taste which can be due to excess nitrogen.
The eggshells is still in the testing phase, but I haven’t had a bad experience using them in the garden soil. They can contain trace minerals that your soil and plants will feed on. They are pulverized to allow for easy absorption by their roots.
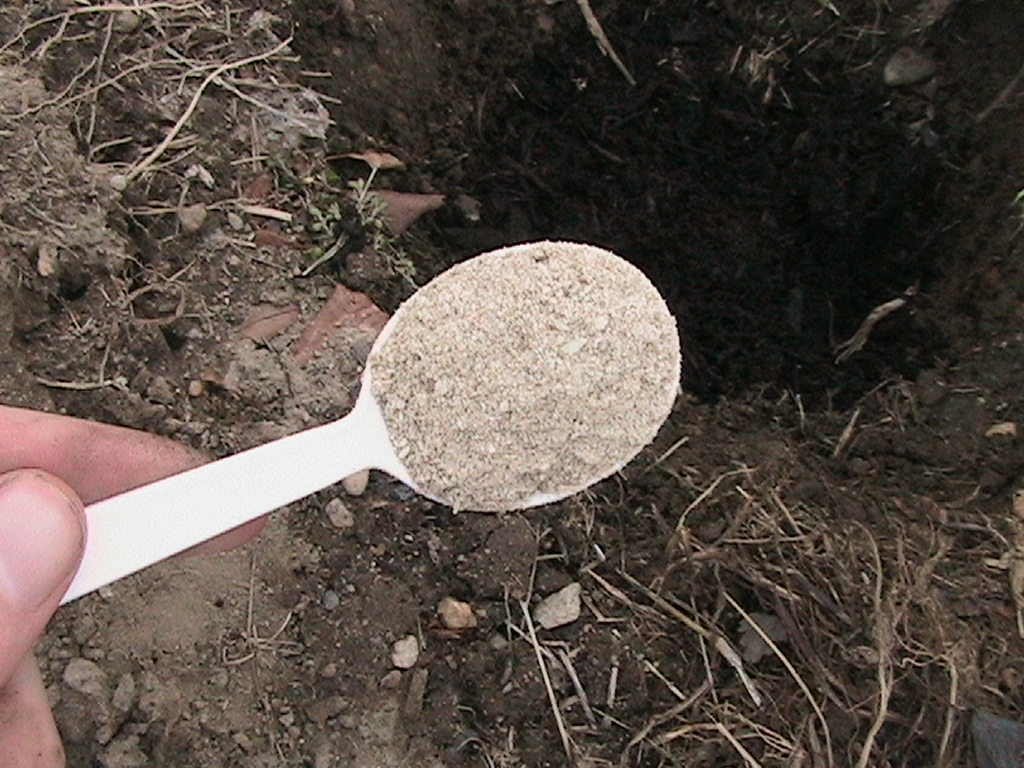
Now you need to add this to each hole that you have dug. Using the correct amount can definitely help your plants now and for the next few weeks at least. I like to use a small hand held shovel for measuring the manure and organic humus that has to be added. One large shovel full should be plenty for any plant. You can use more, but I have found that one is plenty for any individual spinach plant.
When it comes to bone meal I like to use a simple plastic soup spoon as proper measurement. One scoop of bone meal is just the right amount for easy transplanting.
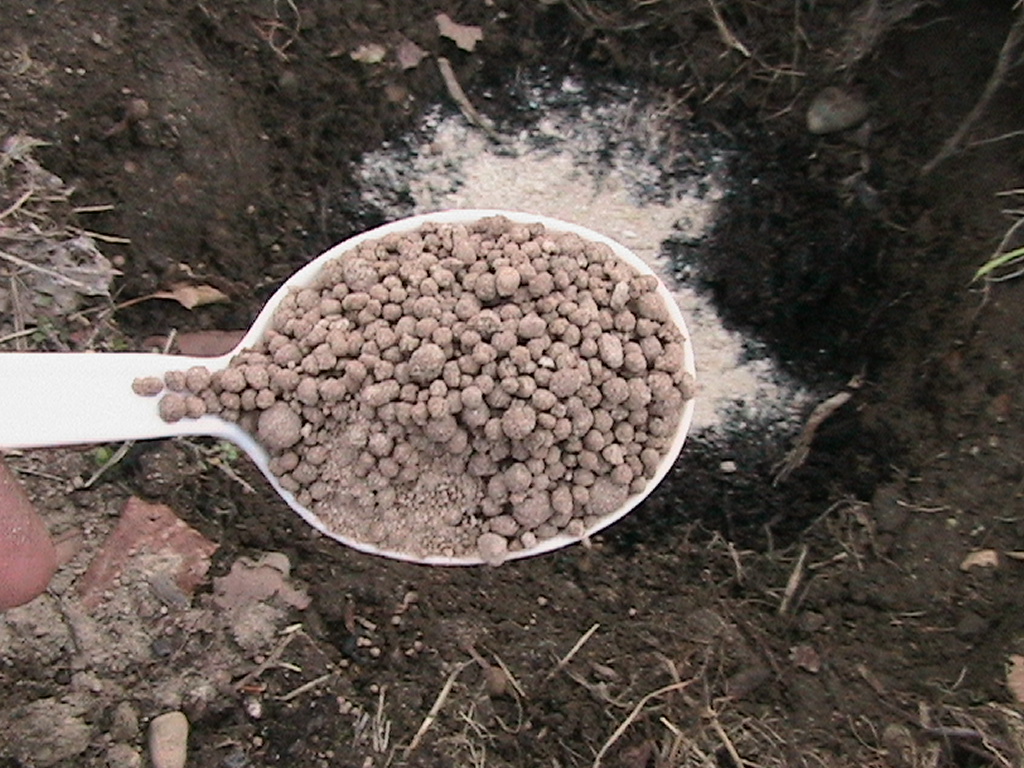
If you are going to implement lime in your garden, then I like to use two scoops. You don’t have to do this because you can always add lime later on when the plant starts to develop and is just about ready to eat. It just depends on your personal preference. I do it now to get it out of the way so I don’t forget. The pelleted lime is better for your garden because it is slow releasing instead of the powder limestone. You can purchase all of these at any gardening store.
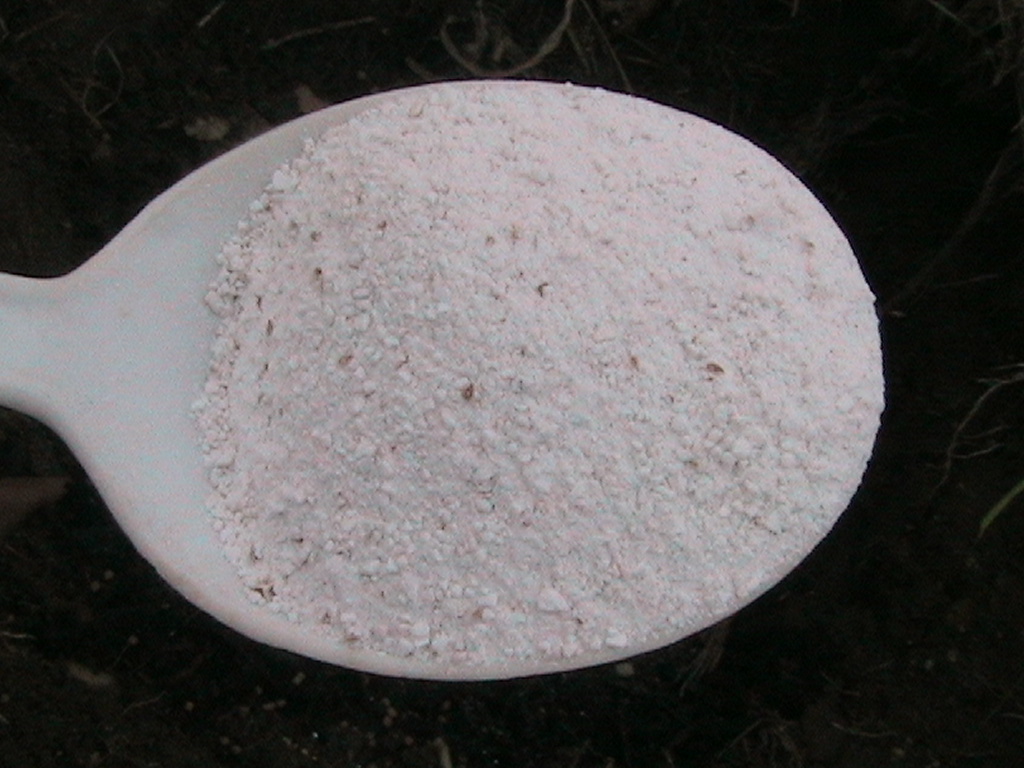
Eggshells are measured with the same except that I only use a small scoop of pulverized eggshells. The reason is it takes many eggshells to create this fine powder and it all depends on how many eggshells I go through each year. It basically depends on how much supply I have. I will discuss how I create pulverized eggshells in another article.
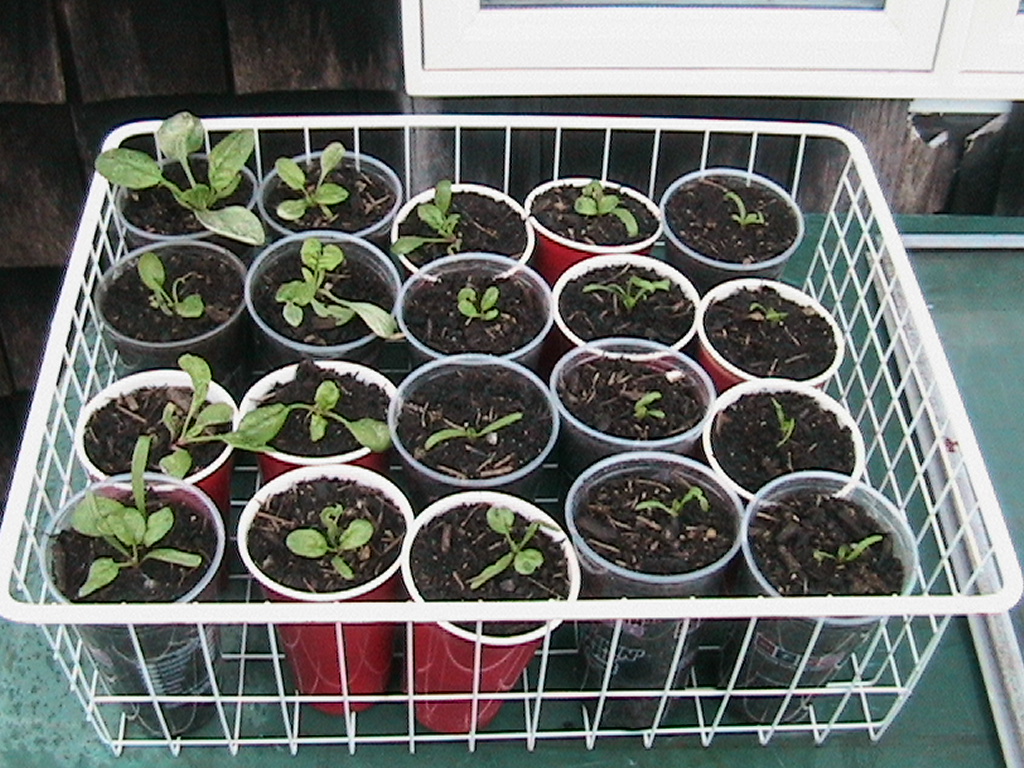
Now that I have added all the organic ingredients that I need for these plants it is time to put them into the ground. I like to have water ready for this process because we are going to be filling up the hole with water.
Now since the container I used is smaller than the actual hole I need to add some loose soil so that my plant doesn’t sink under the water. You want the plant to sit right on top of the soil you have added to work correctly. This takes some practice and experience, but once you get the hang of it will make all the difference.
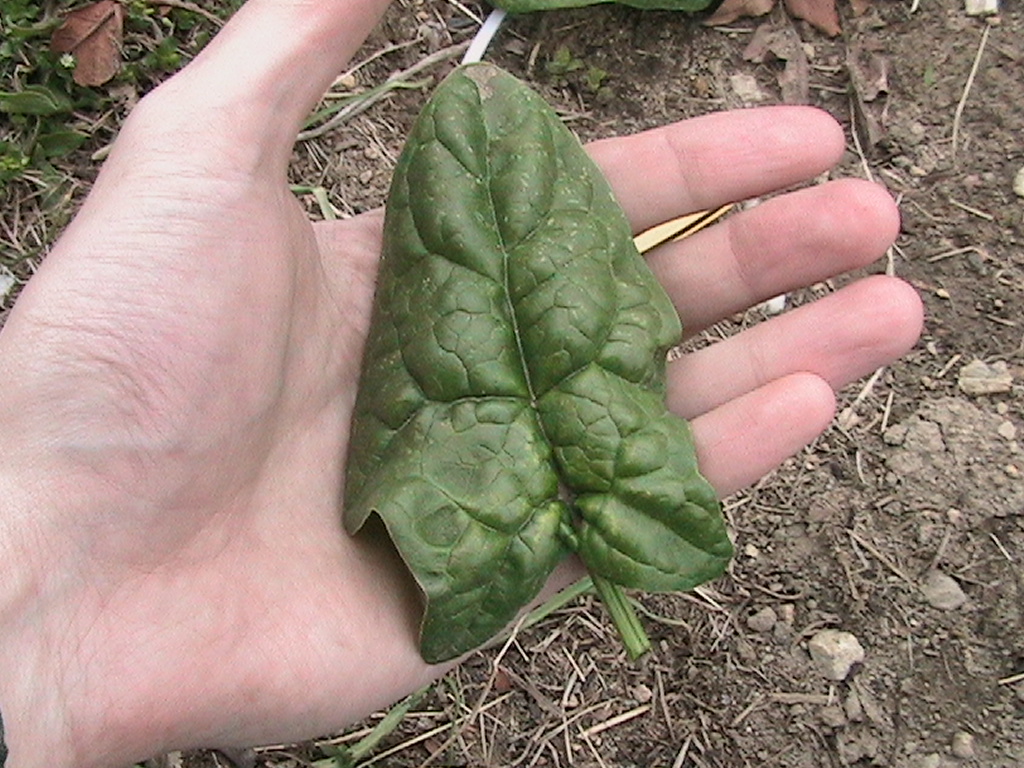
Before filling up the hole with water it is easier to remove the plant from the container. It is much easier if the roots have wrapped around the soil so that it will come out in one piece. Here is an example.
See how the roots have wrapped themselves around the soil. This means it will most likely come out in one piece like this:
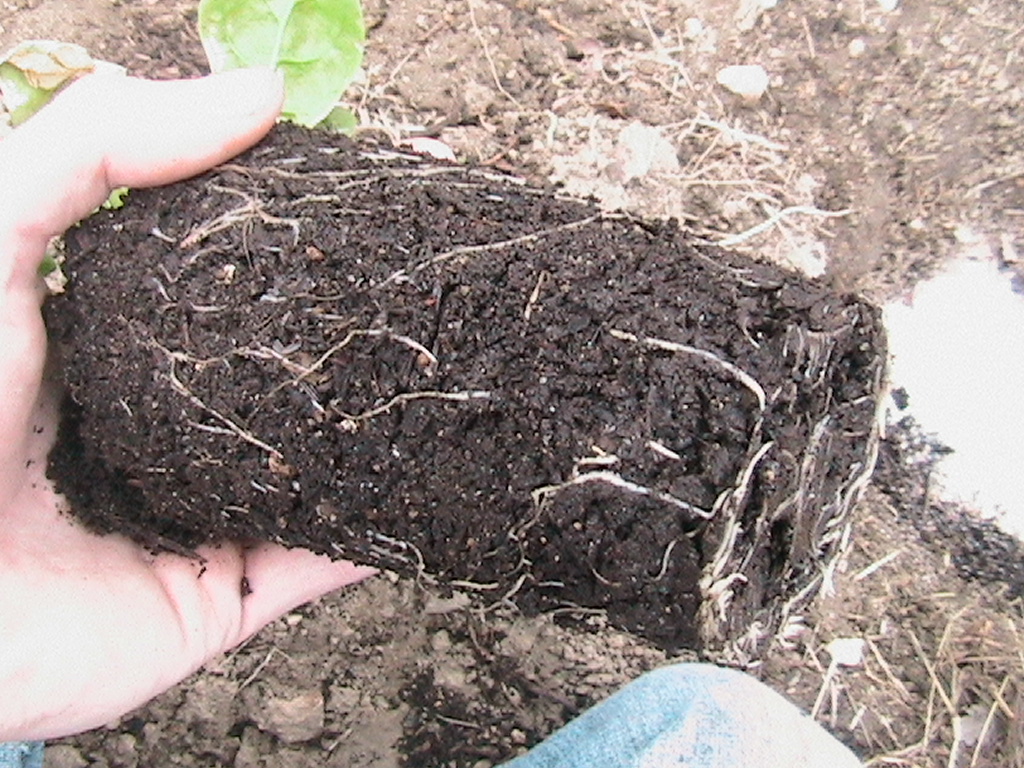
This is how every plant should come out if done correctly. There is usually a couple that happen to give you a hard time, but this is typical any time you garden. There is always one in every group.
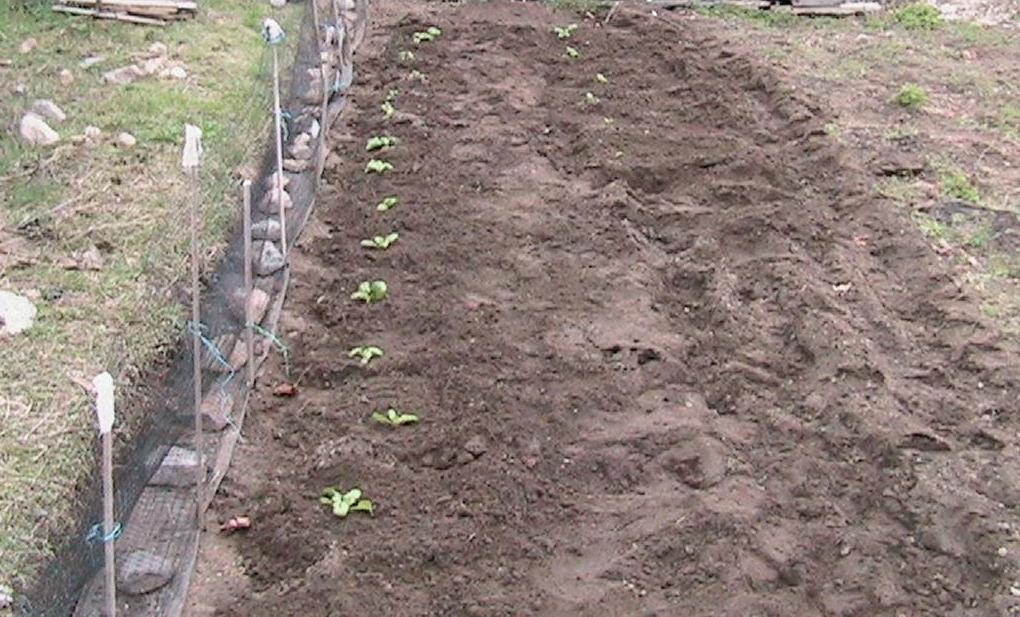
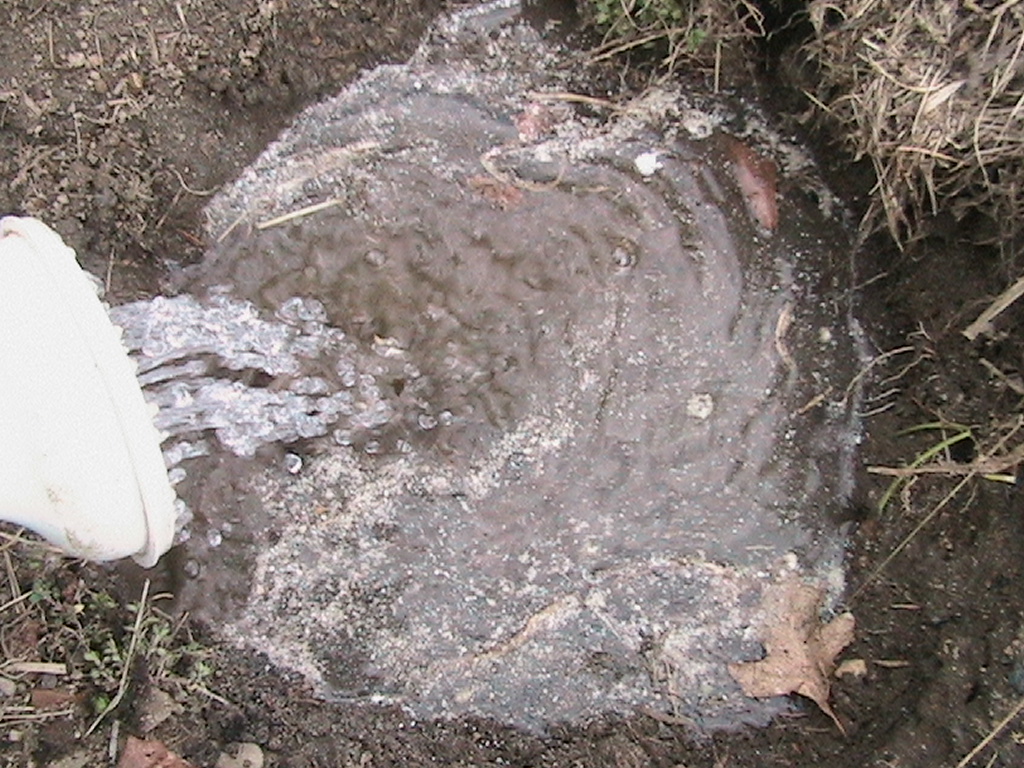
Now it is time to fill the hole with water so that we can place our spinach plant in its final growing area.
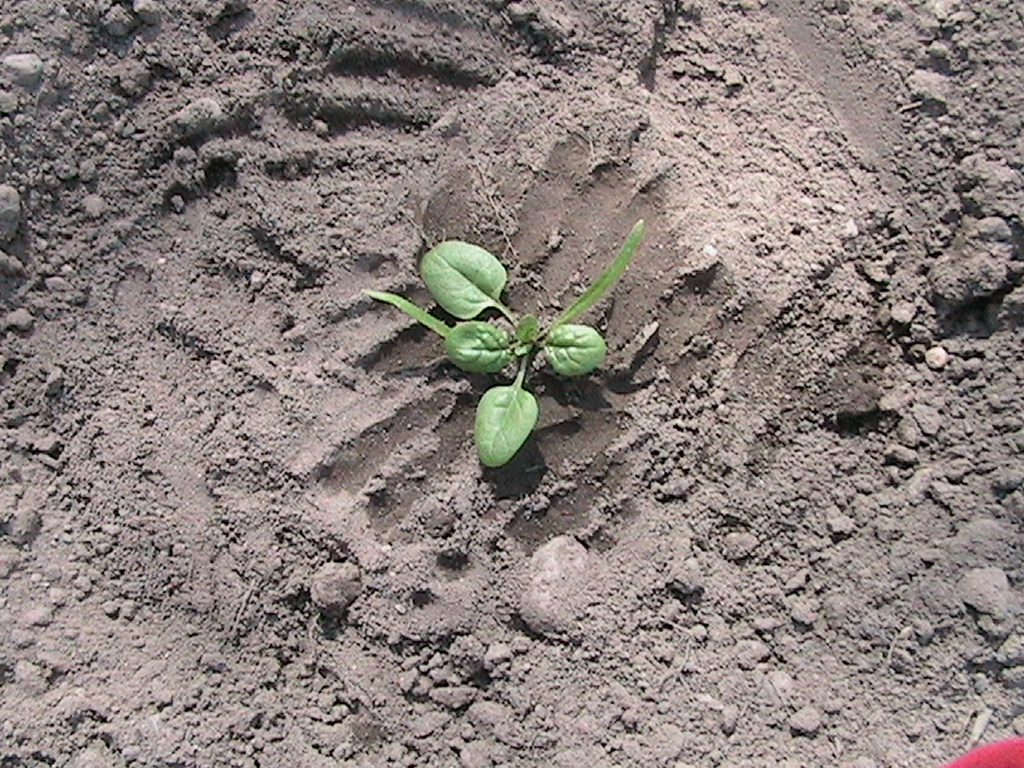
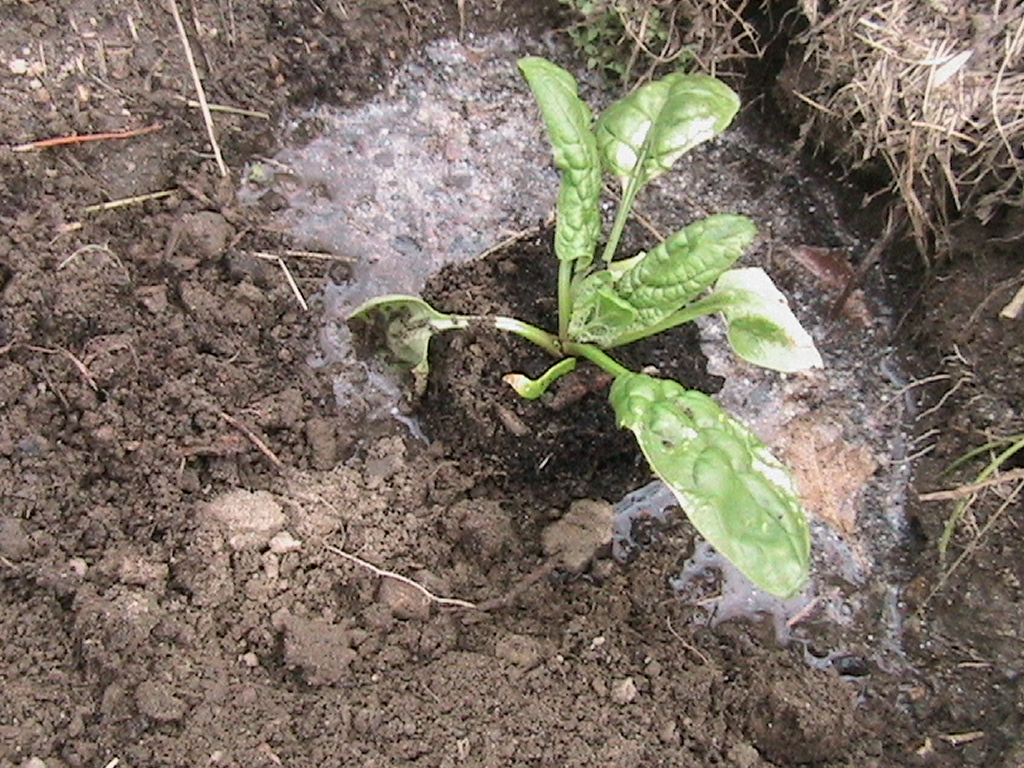
Now that it is filled up it is time to place your spinach plant right in the middle.
With the extra soil left over fill it in all around the plant so that the plant will be securely in place.
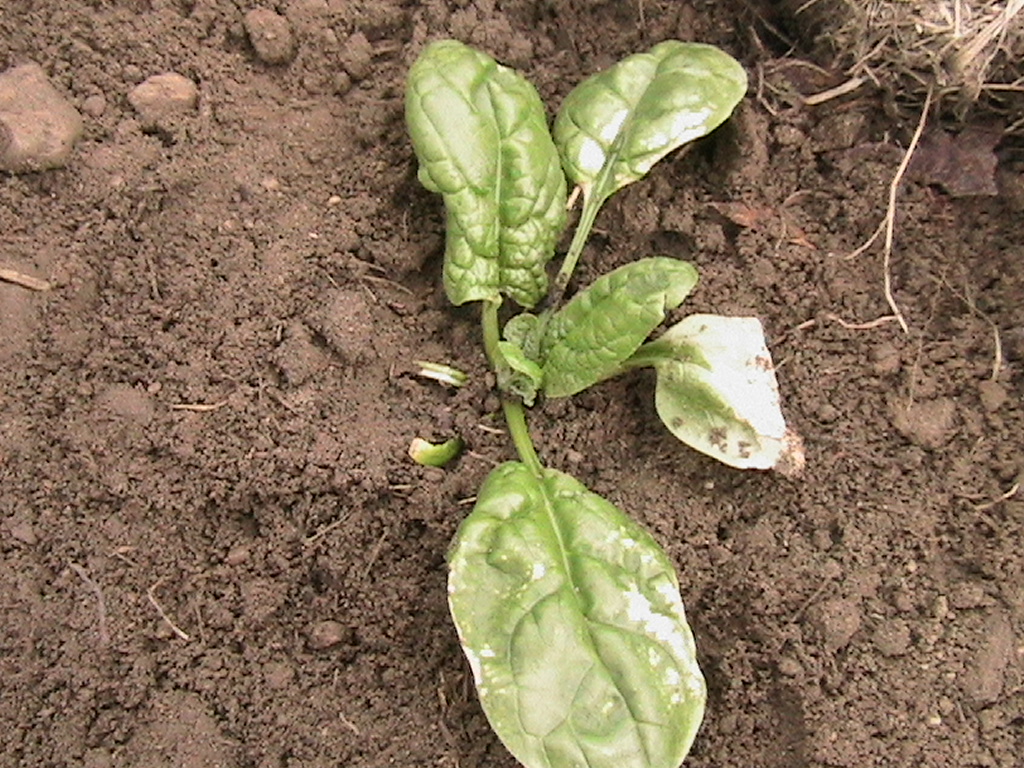
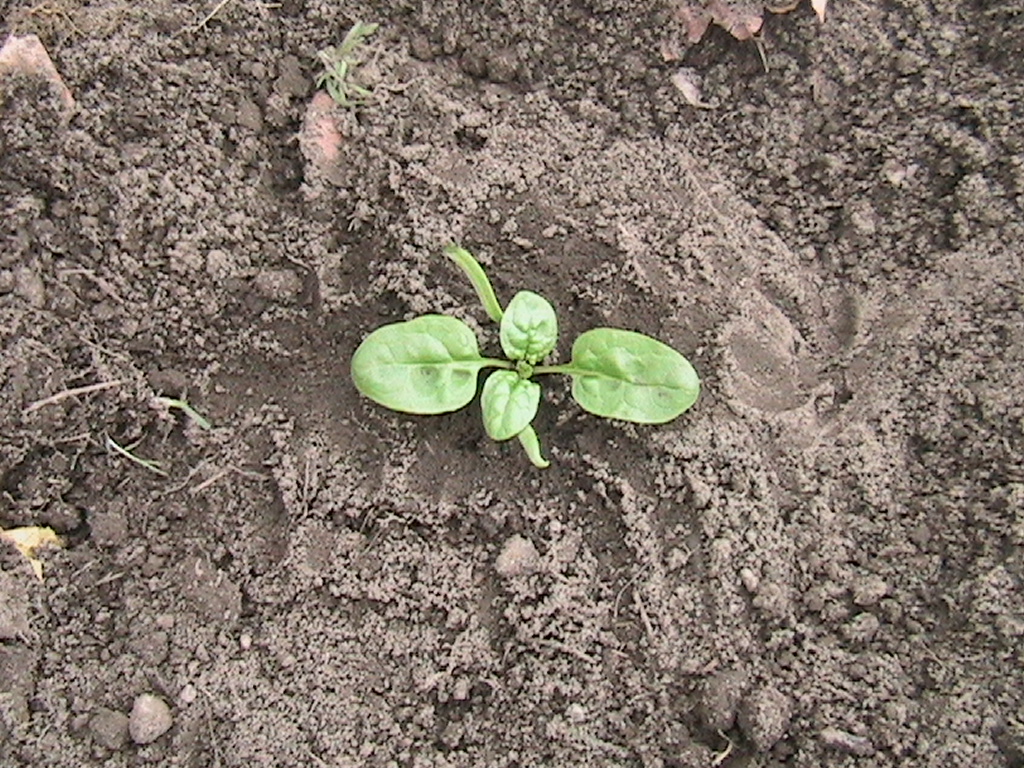
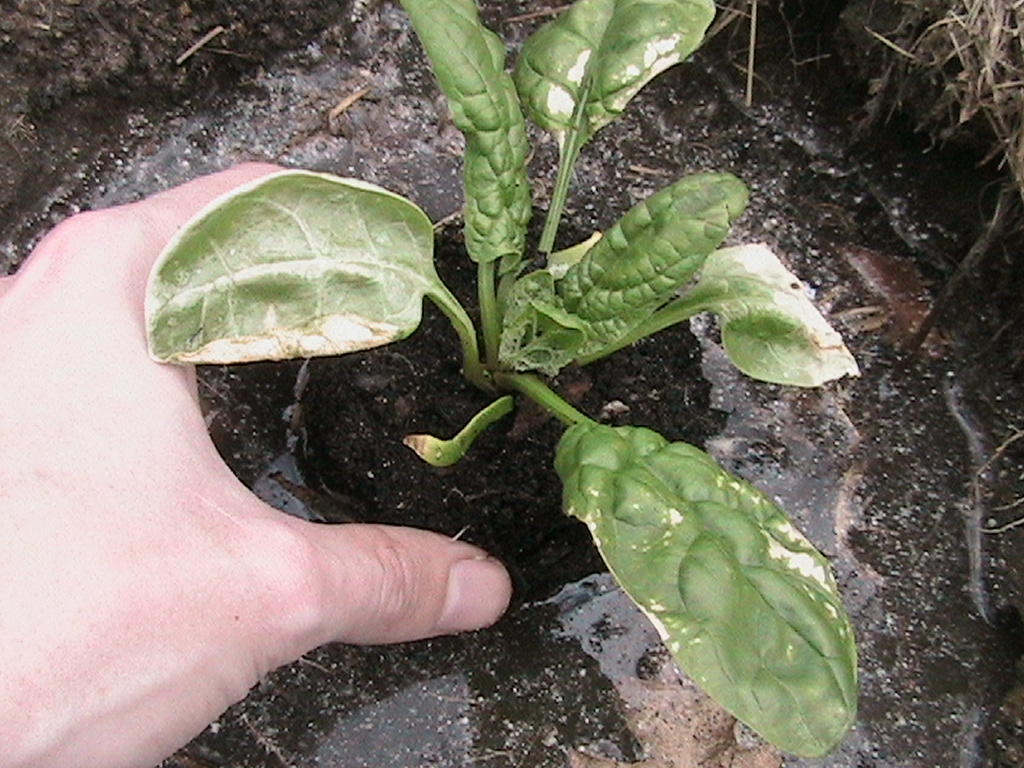
One thing to make sure is that the center part of the plant is not under the soil. Spinach leaves grow from the center and branch out and if they are under the soil the plant might die prematurely.
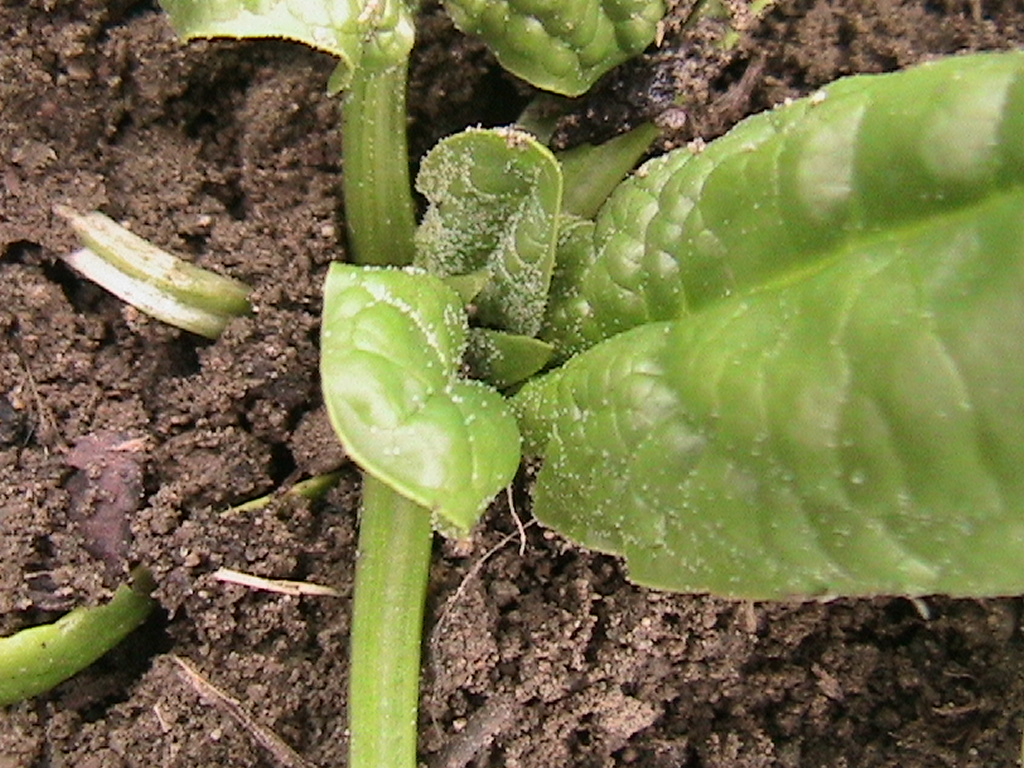
See how the center has new leaves and is above the soil. This is what all your plants should have.
This is the procedure that I use for my spinach plants and the same will go for most of my other plants that I put outside. It is very simple and easy to learn once you have the appropriate instructions.